
There are several web-based PDF-to-flipbook platforms available online, many of which I have covered here at Montilla Design.
However, there's one platform in particular that allows you to animate text and objects from your Adobe InDesign layouts.
Follow along in this tutorial and learn how to export an InDesign magazine layout as a PDF and convert it to a flipbook using the Flowpaper platform. We'll go over how to use Flowpaper's built-in tools to add animation, set up a photo gallery and create a button interaction to play a video.
Use the link below to download the InDesign layout and follow along in this tutorial.
The first step in the tutorial will be exporting the InDesign layout as a PDF so it can be uploaded to the Flowpaper platform.
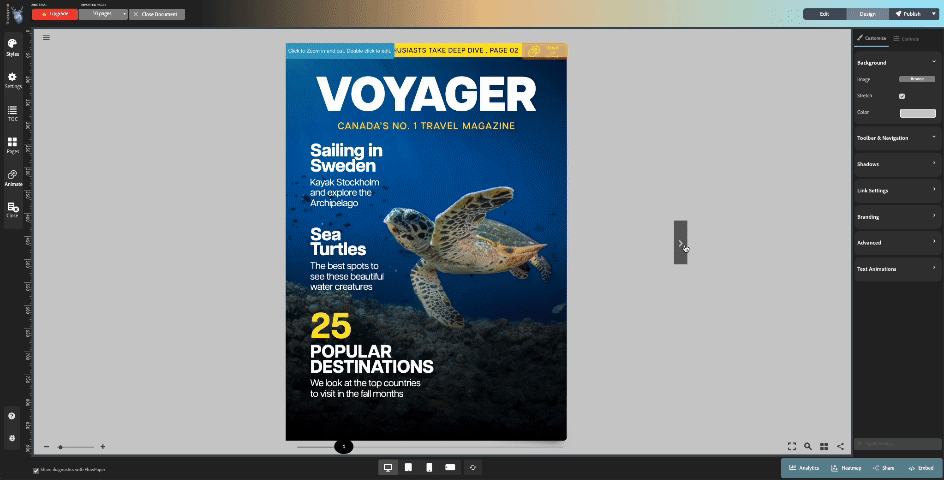
This is a five-page document with a cover and two spreads. It's important to note that with a free Flowpaper account, you are limited to a 10-page document. The free plan does not require registration and the flipbook dashboard can be launched in a Chrome browser or Flowpaper's own Desktop Publisher app for Windows/Mac.
Export Document as PDF
Go to File > Export.
From the file format dropdown, choose PDF (Print).
Click Save.
In the Export to PDF window, choose High Quality from the top menu dropdown.
Choose the Optimize for Fast Web View option.
Click Export.
Here's a look at the Export to PDF settings from InDesign as explained above:

Once the PDF has been exported, let's jump over to flowpaper.com to upload it to the platform.
Click on the Get Started button and choose Try for Free. This gives you the option of running the application in a Chrome browser or downloading the Flowpaper Desktop Publishing app. For this tutorial, we'll choose the Chrome browser option.
Drag and drop the PDF into the upload area to create a new publication.
The next step is choosing a template. For a simple, straightforward flipbook, choose the Zine option. For this tutorial, we will choose the Elements option, which allows you to add animation to text and shapes.
Next, choose a Flip Book from the sub-template options. This means the publication will still have the page flip effect with animation capabilities.
In the Import Options window, ensure that you have Enable Shape Animations turned on. Once you have all those settings in place, click Continue.
Here's a look at the flipbook once it's uploaded to Flowpaper:
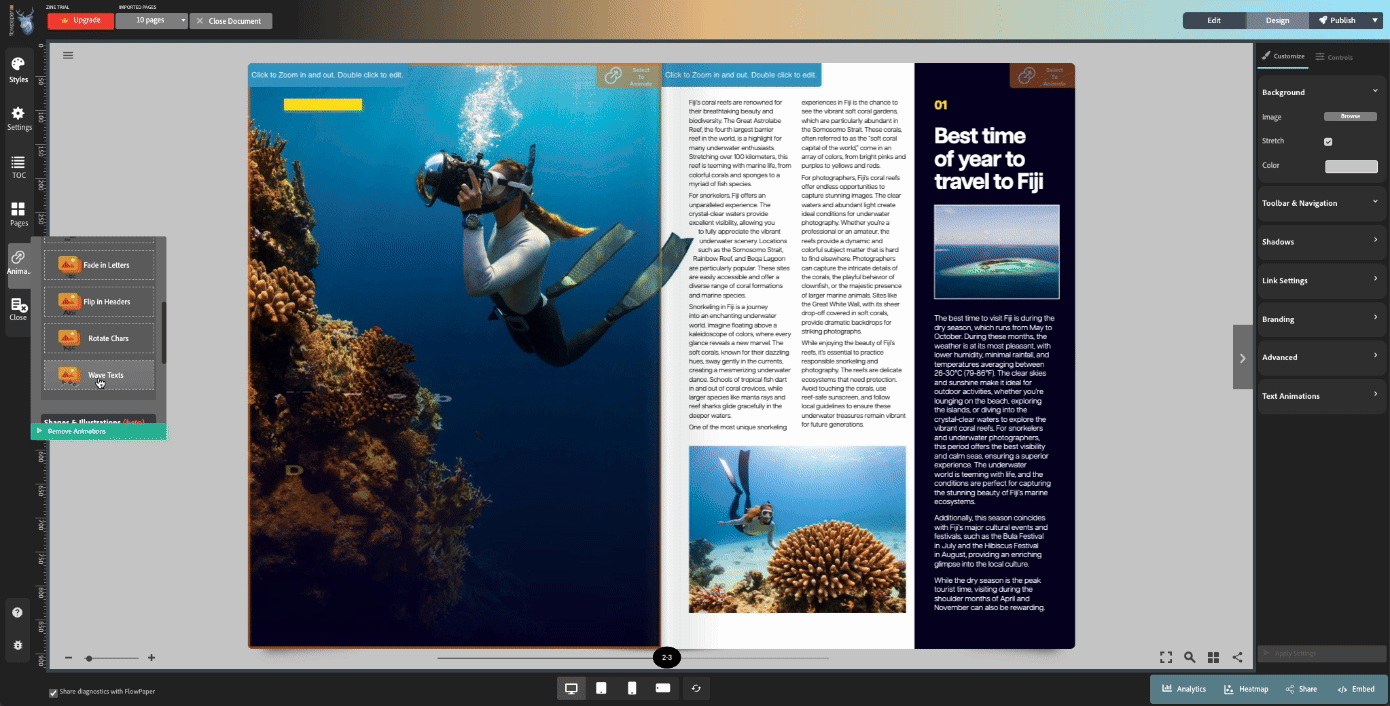
Let's jump over to the second page in the document. This is where we'll add text animation that will play on page flip.
Text Animation
Hover over Page 2 in the magazine. In the upper-right corner of the page you will see the option Select to Animate. Click the button.
The Animations panel will be launched in the left side menu. Choose one of the Text Animations. For this tutorial, we'll use the Wave Text option, which fits with the theme of the magazine design.
Here's how the animation should look once it's been applied:
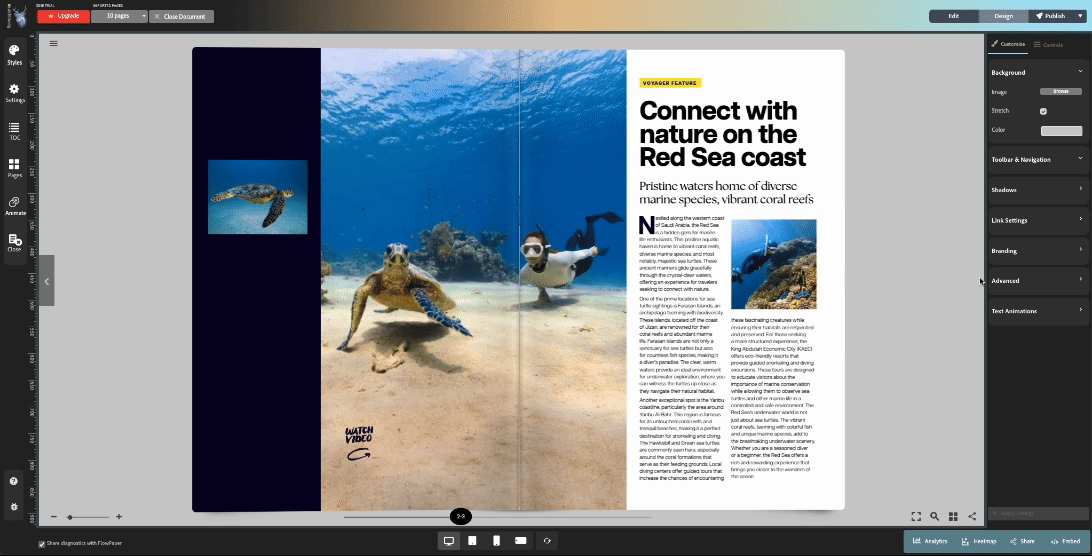
Next we'll focus on Page 3 in the magazine. Specifically, we'll target the right sidebar and add a clickable photo gallery, which will launch in a separate light box window.
For this, we'll first need to access the Edit option in the workspace. This can be located in the upper-right corner.
Photo Gallery
In the Edit workspace, you will see a right-side menu to add rich media and hyperlinks. Click on the option for Gallery.
Click to browse images and choose the four Fiji images that are included in the lesson files. The JPEG images are in a folder named Gallery Pics and labelled fiji_1, fiji_2, fiji_3 and fiji_4.
Click OK.
Now drag the area where you want to place the photos. They are the same size as the image in the sidebar so you can draw the area right over that image.
Click on Design to exit the Edit workspace. You will now be able to test out the gallery.

Here's how the gallery will appear once all the images have been uploaded:

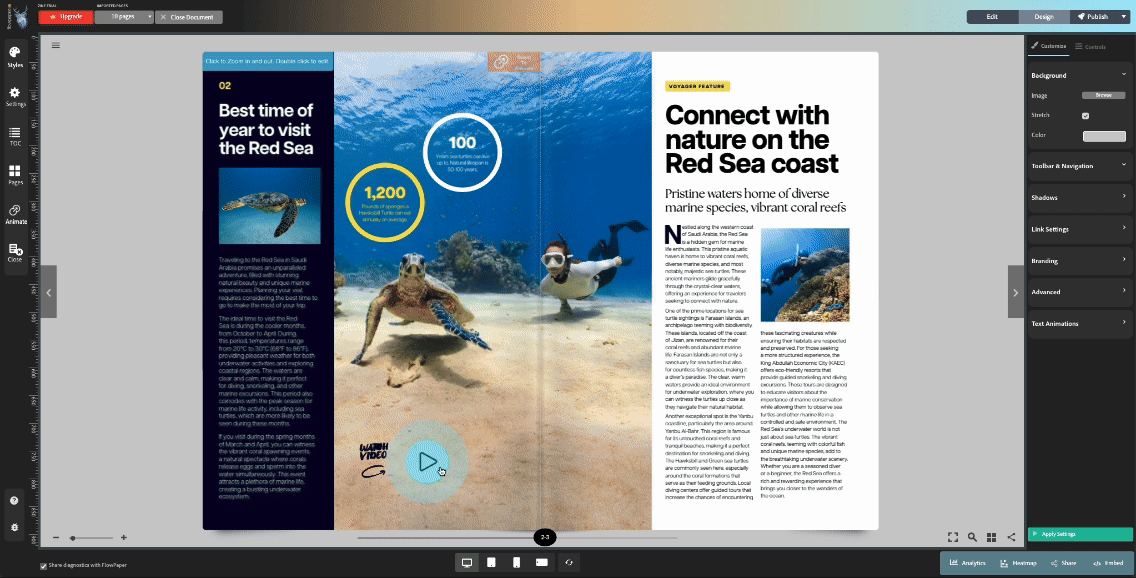
Next, let's flip over to Page 4 in the magazine and add animation to the circle shapes in the layout.
Shape Animation
Hover over the fourth page and click the Select to Animate option.
In the Animate panel, scroll down to the Shapes and Illustrations (Beta) options. Keep in mind, because this is still in Beta, it's not perfect. It may require some adjustments to get the animation just right. Also, ensure that the shapes are vector objects or Flowpaper won't recognize the shapes.
From the Shapes and Illustration presets, choose Fill in Top. This will recognize the shapes at the top of the page and apply the animation accordingly.
Let's also add a Pan Left text effect to complete the animation.
The next thing we'll look at is how to add video two ways: Embed the YouTube video right in the flipbook and adding a button to launch the video in a player.
You will notice space under the main subjects in the image, a call to action to watch video. This is where we'll place a Play icon to launch the video.
Adding Video
Click on the Edit button again to launch the editor.
From the right-side menu, choose Video. In the lesson folder, there's a text file with the YouTube URL of sea turtles. You can also find it here. (Source: AmazingEarth)
If you click OK, you can place the video in an area of the magazine. However, in this case, let's click on the Open Video via Hotspot option.

Click OK
Click on the page to drop the Play icon button in the layout. You can place it close to the Call to Action. To make it larger, click the gear icon when you hover over the Play button. Change the width and height to 120px to make it larger.
Here's how the interactive experience will look following the steps explained above:
Follow along in the video tutorial to learn how to publish the flipbook to Flowpaper's servers and share it with your audience.
Comments